How to Make Food Photos Look Professional Without a Studio
Start with a stronger phone photo, make restrained improvements, and export the right shape for every place the dish will appear.
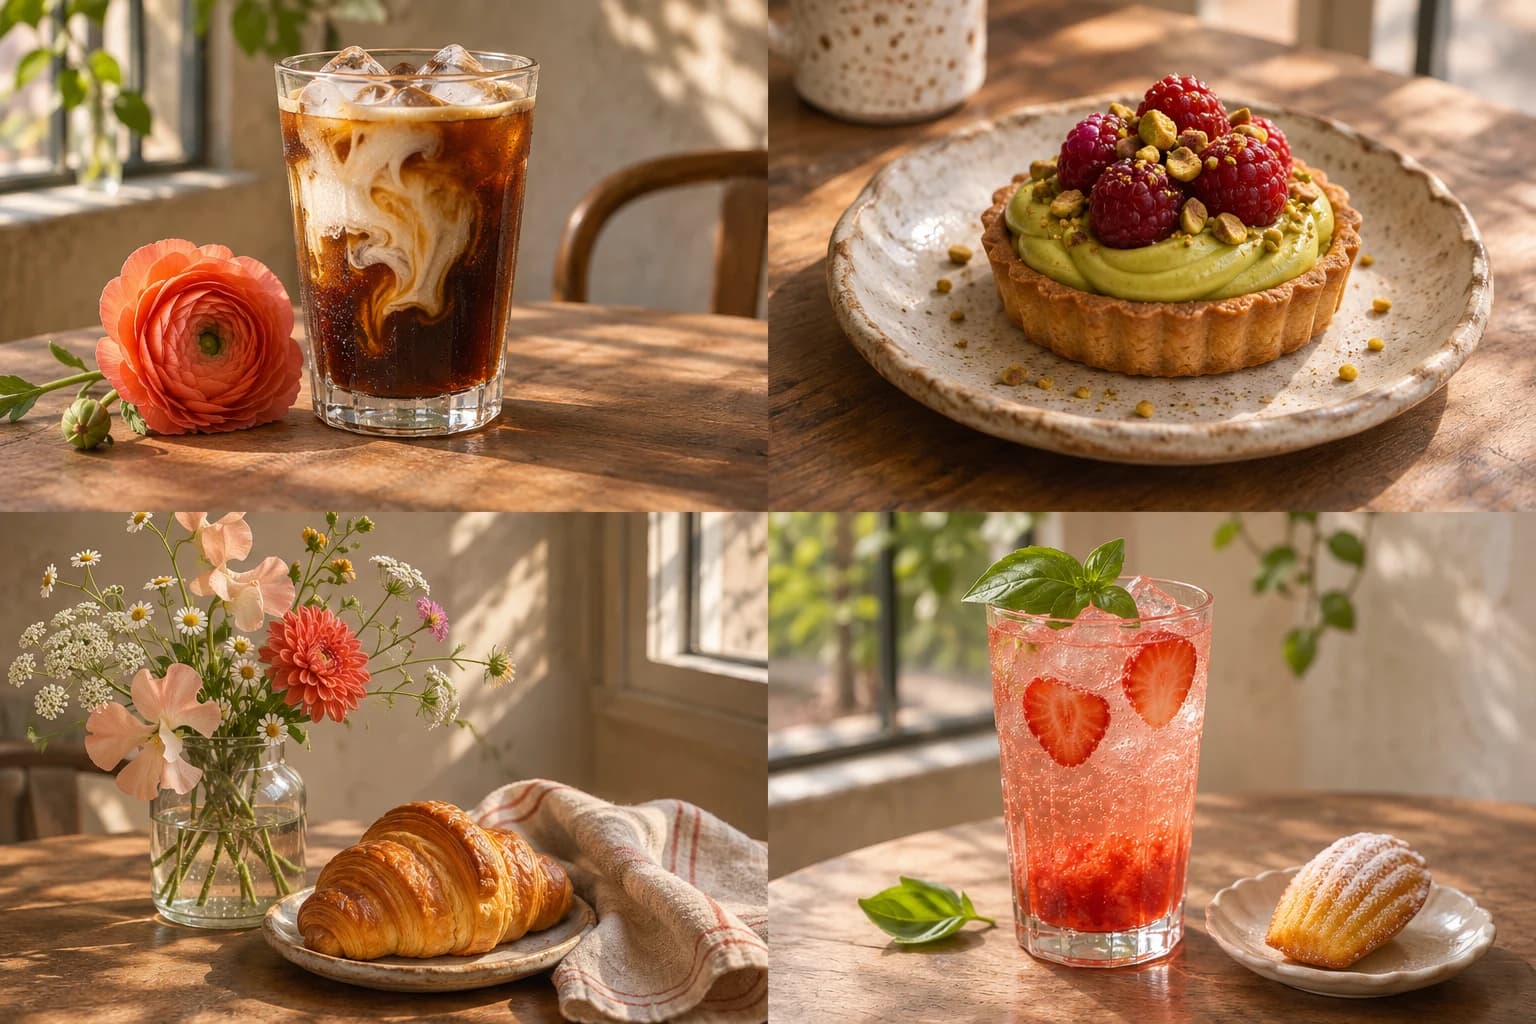
Clean the lens, use one large side light, show the full dish, simplify the background, and edit for a specific publishing format.
Professional-looking food photography is less about owning a professional camera and more about removing the small problems that make a picture feel accidental. A phone is enough when the light, angle, surface, and final crop are chosen deliberately.
The workflow below is designed for a working restaurant. It can be repeated near a window, on a prep table, or just before service without turning the day into a full photo shoot.
1. Clean the lens before changing anything else
A phone moves between pockets, counters, and hands all day. A fingerprint on the lens lowers contrast and produces a soft glow around highlights that editing cannot fully recover. Wipe it with a clean microfiber cloth before every short shoot.
2. Use one broad light from the side
Place the dish near a window with the light arriving from the side or slightly behind it. Side light reveals texture in pastry, grill marks, sauces, and layered dishes. Turn off nearby ceiling lights if they add a second color to the plate.
If the shadow side becomes too dark, place a white menu board, sheet of card, or light-colored tray opposite the window. It will return enough light to show detail without flattening the food.
3. Choose the angle for the shape of the dish
| Angle | Works well for | Watch for |
|---|---|---|
| Overhead | Pizza, bowls, table spreads, flat plates | Phone shadow and distorted plate edges |
| About 45 degrees | Most plated meals, café food, desserts | Busy backgrounds behind the dish |
| Table level | Burgers, sandwiches, cakes, layered drinks | Losing the top surface and garnish |
Take one safe frame before experimenting: the whole dish visible, a little space around it, and the phone kept level. That frame gives an editor enough information to create several crops later.
4. Simplify the frame
Remove used napkins, order tickets, cleaning bottles, loose cutlery, and ingredients that do not help explain the dish. Add props only when they support the offer: one coffee beside a pastry, a menu card behind a lunch special, or a simple ingredient that customers can actually expect.
Leave breathing room around the plate. A source image that is already cropped tightly cannot be turned reliably into a tall story and a wide delivery listing.
5. Protect the food's identity during editing
Improvement should happen around the truth of the dish, not instead of it. Check the final result against the source photo and what leaves the kitchen.
- Are the ingredients and garnish still correct?
- Is the serving size realistic?
- Did the editor change the plate, packaging, logo, or branded item?
- Does the lighting make the food clearer without changing its color unnaturally?
- Would a customer recognize the order when it arrives?
Review rule: If an image would create an expectation the kitchen cannot fulfill, do not publish it. Regenerate with a more restrained direction or use the original photo.
6. Edit for the place the image will appear
One universal crop usually produces weak results everywhere. Decide the destination first, then preserve the right amount of space around the subject.
| Format | FoodPostStudio export | Typical use |
|---|---|---|
| 1:1 square | 1080 × 1080 | Feed grids and square listings |
| 4:5 portrait | 1080 × 1350 | Portrait social posts |
| 9:16 story | 1080 × 1920 | Stories, reels covers, and promotions |
7. Finish the content, not only the photo
A polished image still needs context. Name the dish, explain what makes it timely, and give the reader one next action. A useful restaurant caption can be assembled from four parts:
- A direct opening line about the dish or offer.
- One or two concrete details: ingredient, preparation, availability, or price.
- A single call to action such as order, book, visit, or save.
- Accurate alt text that describes the visible dish without advertising language.
A 10-minute repeatable workflow
- Two minutes: clean the frame and move the dish into better light.
- Two minutes: capture overhead, 45-degree, and table-level options.
- One minute: choose the clearest source photo.
- Three minutes: generate and review the visual direction and format.
- Two minutes: confirm the image, edit the caption, and publish or schedule it.
The timing is less important than the repetition. Using the same checklist every week creates more consistent results than rebuilding the process for every new special.
Generate up to four visual directions with captions, hashtags, and alt text.